


In this framework we will try to cover all the basic component of a selenium as listed below:
1. TestNg demonstration
2.POM- Page Object Model
3.Code separation
4.Cross Browser Testing
5.External Data Source
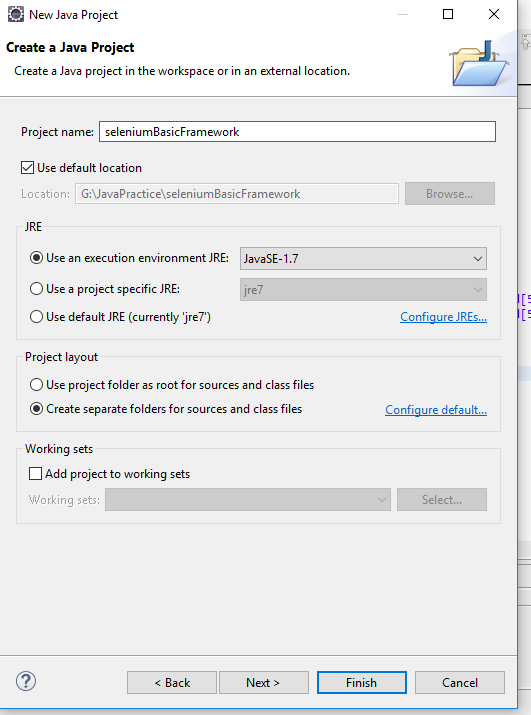
Step 1 Create a Java project and Name it as “seleniumBasicFramework”
2. Create three package as shown below:
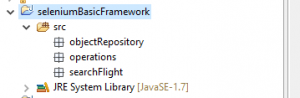
objectRepository- It will contain all the static data(object identifier and Application url )
operations– It will contain all frequently used functions used in our testing like- screenshots, external data reading etc.
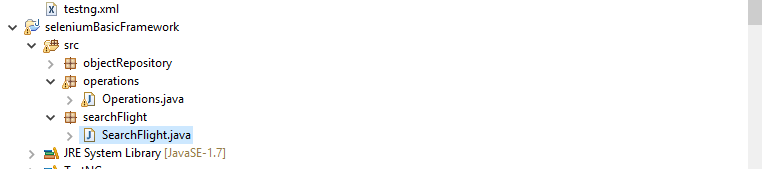
searchFlight– It will contain the set of code responsible for testing with the help previously defined packages.
Step3 : We will create some folders to save results and to keep our external data source:
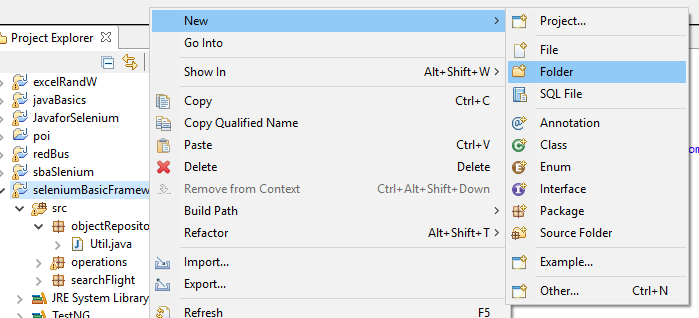
a) To add a folder , select project and right click , choose new option and a folder as shown below:
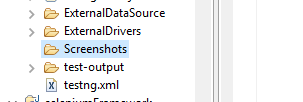
b) We will add three folders as shown below:
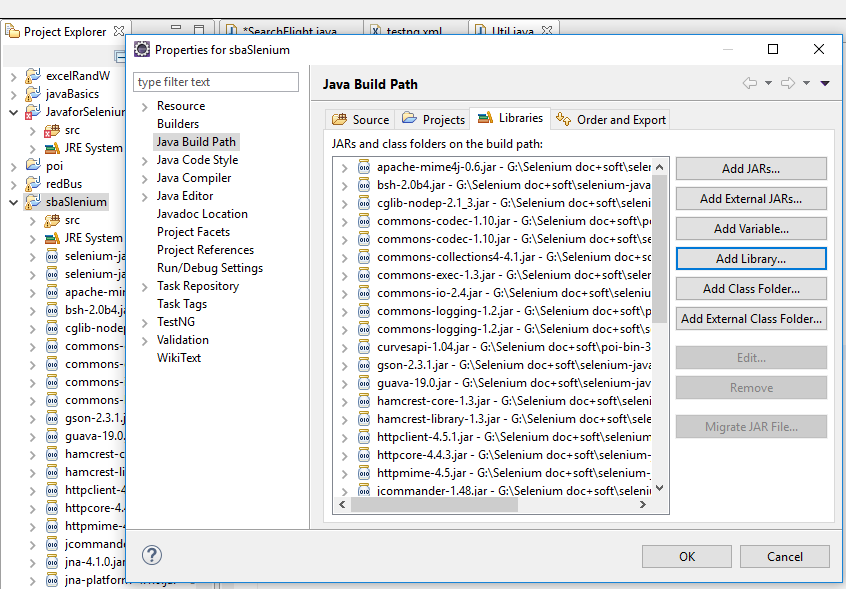
Step 4 : Now we will add all the required Jar files(Seelenium webDriver, Apache POI, TestNg Library)
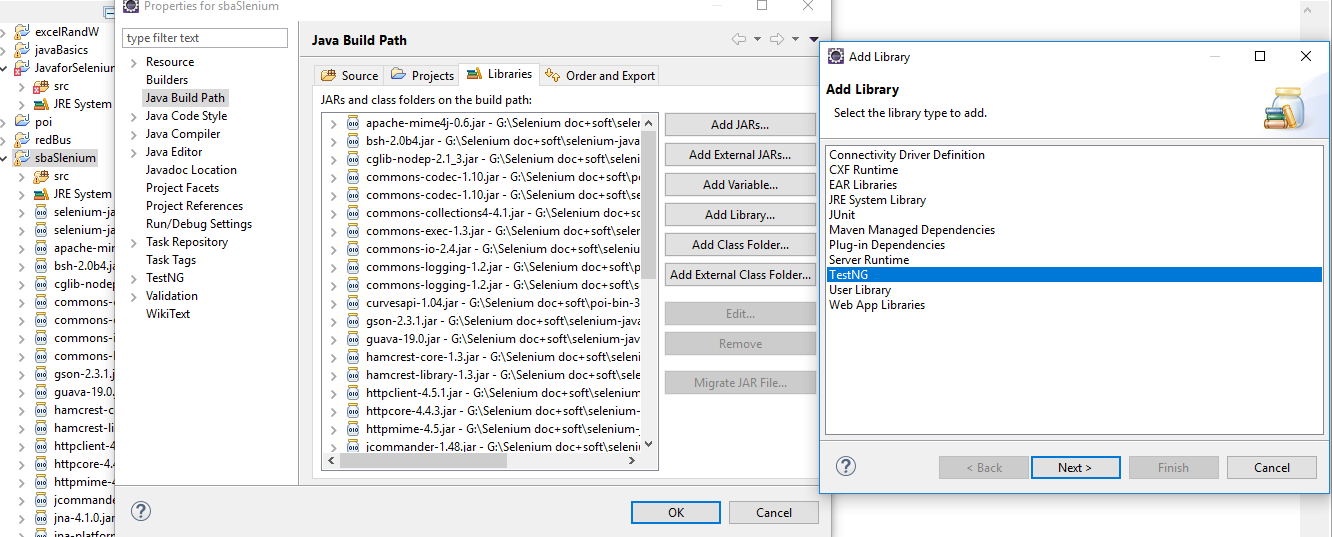
a) TestNg library: Select project->right click-> Java build path->library->add library-> TestNg.
Follow below screenshots:-
b)Selenium WebDriver:- Add selenium WebDriver jar, to download click here and for more detail about it click here
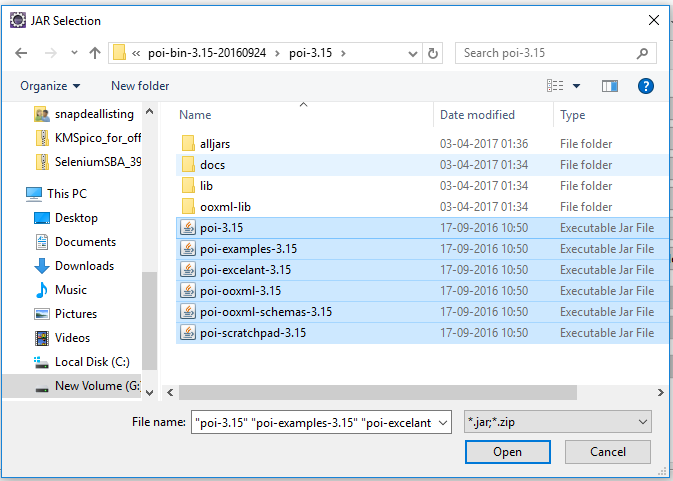
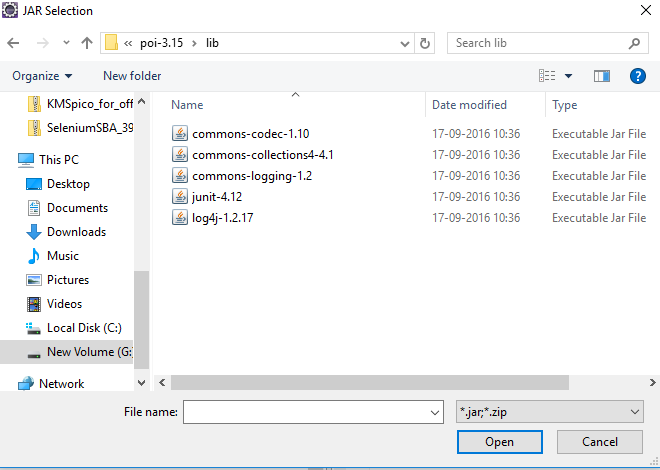
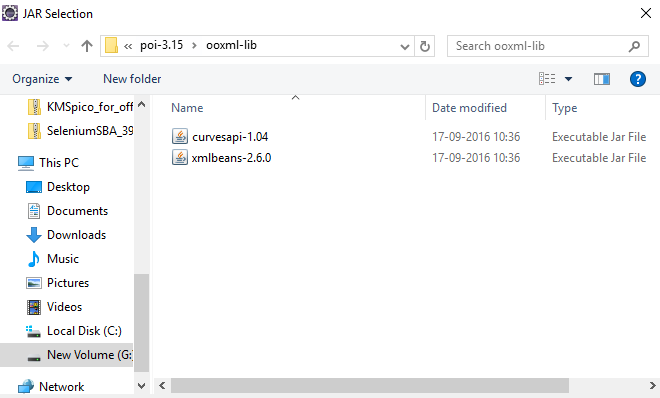
c)Apache POI :- Add POI jar to the project as shown below, for more detail about it click here.
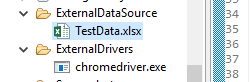
Step 5) Now we will place external drivers and Data source in folders we have mentioned earlier:
ExternalDataSource->excel file having test data.(named as TestData.xlsx)
ExternalDrivers- required external driver for the cross browser testing(chrome driver)
We are done with all basic setup required, let’s create TestNG Class to perform functional testing in package searchFlight:
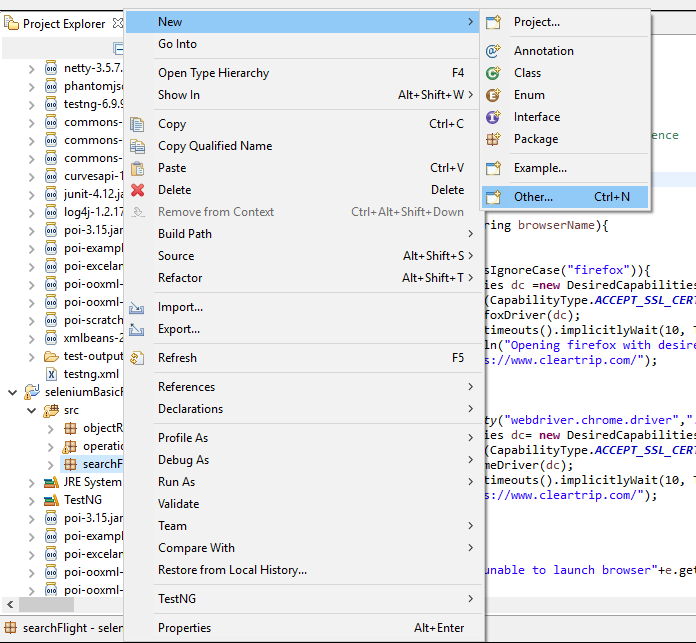
Step 6 : Select package “searchFlight” ->right click-> new->others->TestNg Class->Next->Finish
a)
b)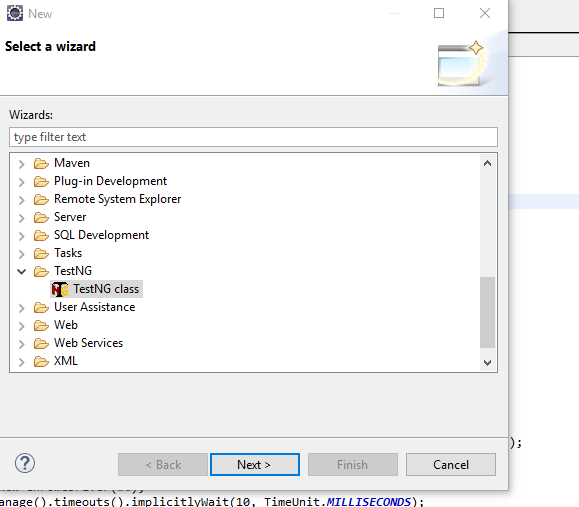
c)Provide the name of the class as SearchFlight and click on finish.

d)
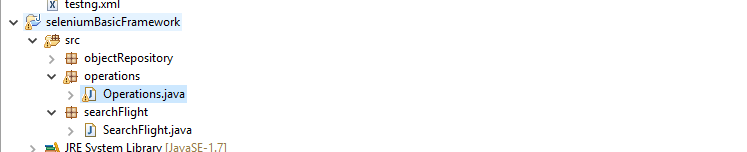
Step 7) Add a class in operations name it as “Operations.java”
Step 8) Add methods to Operations class to perform basic functions:
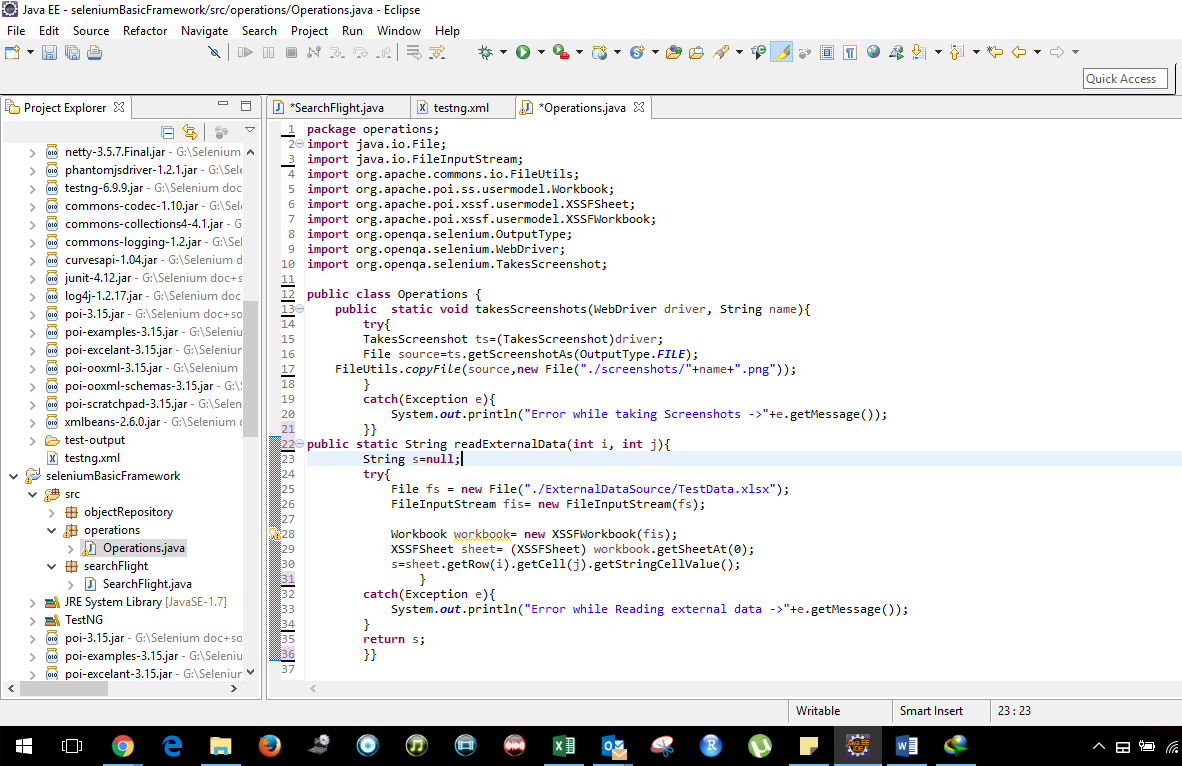
Code Operations.java
package operations;
import java.io.File;
import java.io.FileInputStream;
import org.apache.commons.io.FileUtils;
import org.apache.poi.ss.usermodel.Workbook;
import org.apache.poi.xssf.usermodel.XSSFSheet;
import org.apache.poi.xssf.usermodel.XSSFWorkbook;
import org.openqa.selenium.OutputType;
import org.openqa.selenium.WebDriver;
import org.openqa.selenium.TakesScreenshot;
public class Operations {
public static void takesScreenshots(WebDriver driver, String name){
try{
TakesScreenshot ts=(TakesScreenshot)driver;
File source=ts.getScreenshotAs(OutputType.FILE);
FileUtils.copyFile(source,new File(“./screenshots/”+name+”.png”));
}
catch(Exception e){
System.out.println(“Error while taking Screenshots ->”+e.getMessage());
}}
public static String readExternalData(int i, int j){
String s=null;
try{
File fs = new File(“./ExternalDataSource/TestData.xlsx”);
FileInputStream fis= new FileInputStream(fs);
Workbook workbook= new XSSFWorkbook(fis);
XSSFSheet sheet= (XSSFSheet) workbook.getSheetAt(0);
s=sheet.getRow(i).getCell(j).getStringCellValue();
}
catch(Exception e){
System.out.println(“Error while Reading external data ->”+e.getMessage());
}
return s;
}}
9) Add object identifiers to Util class.
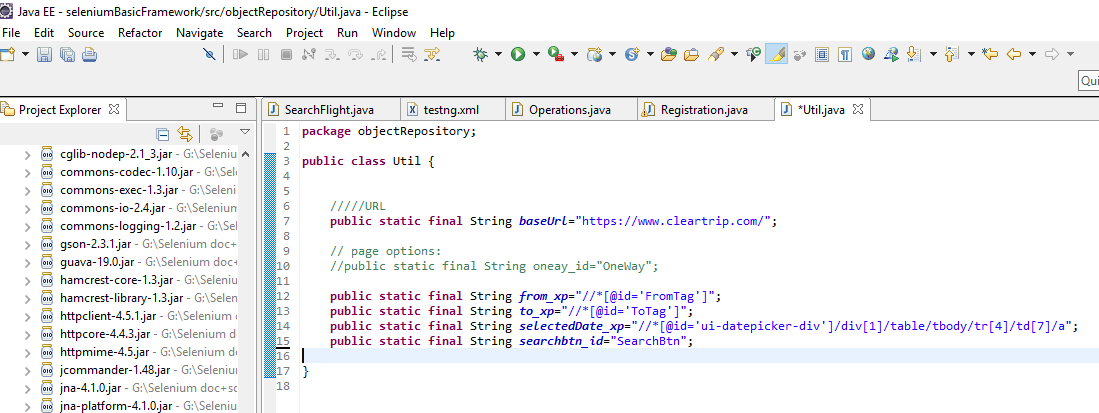
Util.java
package objectRepository;
public class Util {
/////URL
public static final String baseUrl=”https://www.cleartrip.com/”;
// page options:
//public static final String oneay_id=”OneWay”;
public static final String from_xp=”//*[@id=’FromTag’]”;
public static final String to_xp=”//*[@id=’ToTag’]”;
public static final String selectedDate_xp=”//*[@id=’ui-datepicker-div’]/div[1]/table/tbody/tr[4]/td[7]/a”;
public static final String searchbtn_id=”SearchBtn”;
}
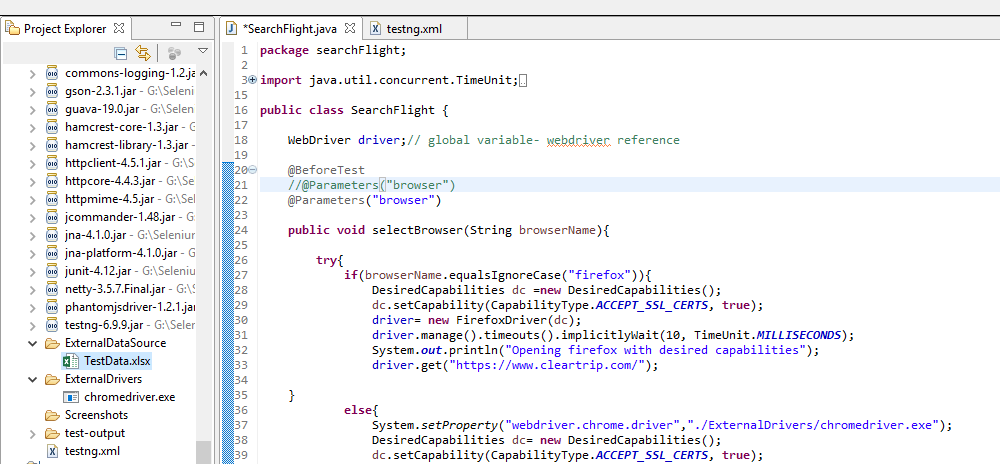
10) Add code in SearchFlight.java
SearchFlight.java
package searchFlight;
import java.util.concurrent.TimeUnit;
import objectRepository.Util;
import operations.Operations;
import org.openqa.selenium.By;
import org.openqa.selenium.WebDriver;
import org.openqa.selenium.chrome.ChromeDriver;
import org.openqa.selenium.firefox.FirefoxDriver;
import org.openqa.selenium.remote.CapabilityType;
import org.openqa.selenium.remote.DesiredCapabilities;
import org.testng.annotations.BeforeTest;
import org.testng.annotations.Parameters;
import org.testng.annotations.Test;
public class SearchFlight {
WebDriver driver;// global variable- webdriver reference
@BeforeTest
@Parameters(“browser”)
public void selectBrowser(String browserName){
try{
if(browserName.equalsIgnoreCase(“firefox”)){//takes screenshots with the name passed while function call
DesiredCapabilities dc =new DesiredCapabilities();
dc.setCapability(CapabilityType.ACCEPT_SSL_CERTS, true);
driver= new FirefoxDriver(dc);
driver.manage().timeouts().implicitlyWait(10, TimeUnit.MILLISECONDS);
System.out.println(“Opening firefox with desired capabilities”);
driver.get(Util.baseUrl);
}
else{
System.setProperty(“webdriver.chrome.driver”,”./ExternalDrivers/chromedriver.exe”);
DesiredCapabilities dc= new DesiredCapabilities();
dc.setCapability(CapabilityType.ACCEPT_SSL_CERTS, true);
driver =new ChromeDriver(dc);
driver.manage().timeouts().implicitlyWait(10, TimeUnit.MILLISECONDS);
driver.get(Util.baseUrl);
}}
catch(Exception e){
System.out.println(“unable to launch browser”+e.getMessage());
}}
@Test
public void flightSearch() {// reads data from excel sheet from the specified cell
String from= Operations.readExternalData(1, 0);
String to= Operations.readExternalData(1, 1);
driver.findElement(By.xpath(Util.from_xp)).sendKeys(from);
System.out.println(Operations.readExternalData(1, 0)+” is selected as a source”);
driver.findElement(By.xpath(Util.to_xp)).sendKeys(to);
System.out.println(Operations.readExternalData(1, 1)+” is selected as destination”);
Operations.takesScreenshots(driver,”Selected cities”);
driver.findElement(By.xpath(Util.selectedDate_xp)).click();
driver.findElement(By.id(Util.searchbtn_id)).submit();
}}
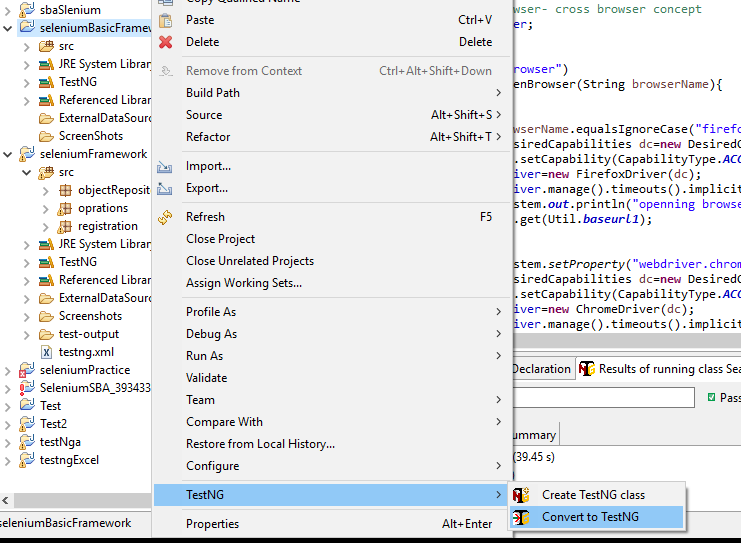
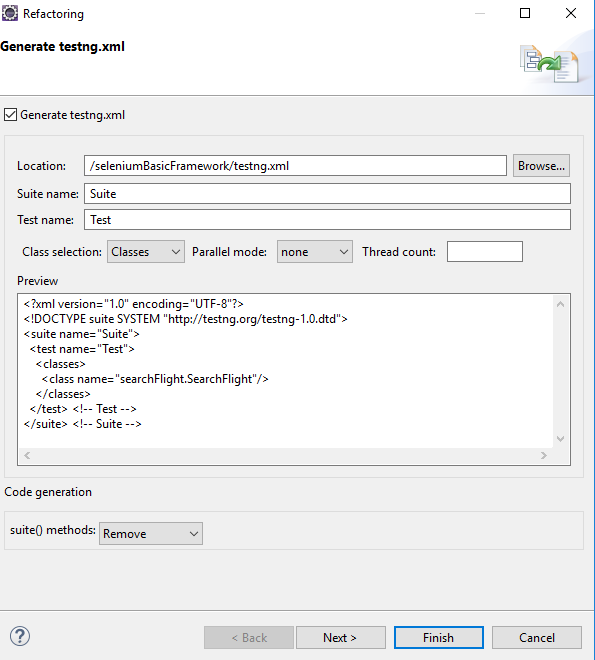
Step 11)Create XML file to run the test suite.
As shown screenshot:
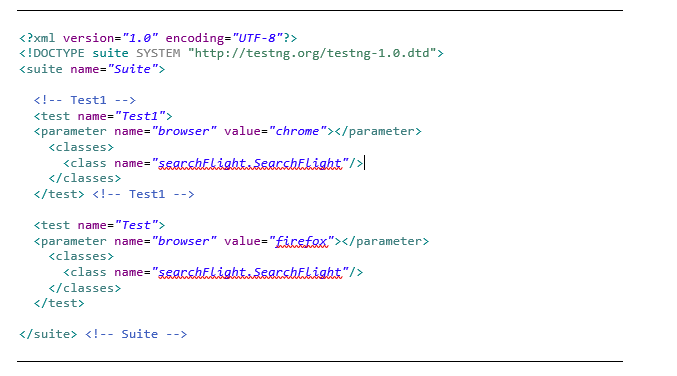
Step 12) Once xml is created replace the content with below code:
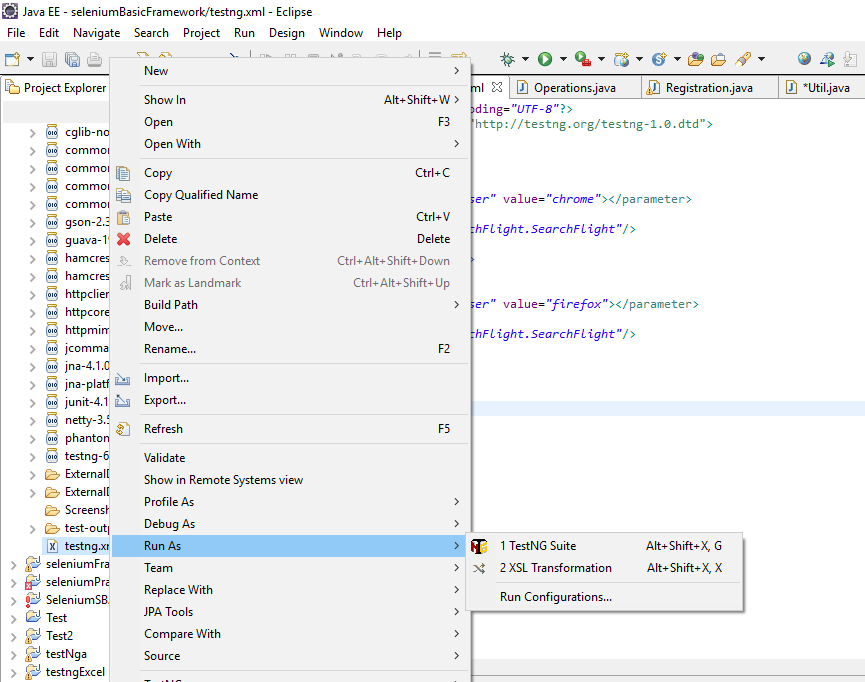
Steps 13)
Run the test suite by using xml file as shown in below screenshot:
To download complete file click here
thanks for sharing this information.have shared this link with others keep posting such information….